
ESP8266 NodeMCU WiFi Controlled Robot Car 2WD DIY Kit
Part number ESP8266
- Sold by 1 shop · checked today
- 8 similar products, from EGP 460
Contact Makers Electronics directly
Something wrong? Tell us
What the shops say
From Makers Electronics's listing
Description
ESP8266 NodeMCU WiFi Controlled Robot Car 2WD DIY Kit The ESP8266 NodeMCU WiFi Controlled Robot Car 2WD DIY Kit is a practical project for exploring wireless robotics. Built around a two-wheel robot platform, the car combines an ESP8266-based NodeMCU development board with an L298N dual-channel motor driver. Instead of relying on a conventional radio controller, it uses a local WiFi connection to exchange commands with a smartphone or another compatible device. The project is designed for hands-on assembly and experimentation. Once the electronics are connected and suitable firmware is uploaded, the NodeMCU interprets incoming control commands and operates the motor driver through its GPIO pins. The L298N controls the left and right geared motors, allowing the vehicle to move forward, reverse, turn, and stop. PWM signals can be used to adjust motor speed. The control interface, network name, and available functions depend on the firmware installed on the board. Features • ESP8266 NodeMCU WiFi-enabled development board. • 2WD robotic car platform with two DC geared motors. • L298N dual H-bridge motor driver. • Wireless control using a compatible smartphone interface. • Forward, backward, left, right, and stop commands. • PWM motor speed control supported. • Programmable using Arduino IDE. • Rechargeable lithium-ion battery power system. • Modular construction for assembly and experimentation. • Suitable for educational robotics and IoT projects. Specifications Parameter: Specification Product Type: WiFi Controlled Robot Car DIY Kit Controller: ESP8266 NodeMCU Development Board USB Interface Chip: CH340 Wireless Technology: WiFi 2.4GHz, IEEE 802.11 b/g/n Control Method: Smartphone via compatible WiFi control interface Motor Driver: L298N Dual H-Bridge Drive Configuration: 2WD (Two-Wheel Drive) DC Motors: 2 × DC Geared Motors Motor Rated Voltage: 3–12VDC Motor Rated Speed: 600 RPM (advertised motor model) Wheel Diameter: 65mm Wheel Width: 26mm Robot Platform: Square 2WD Chassis Chassis Dimensions: Approximately 200 × 150mm Support Wheel: Metal Caster Wheel Battery Type: Rechargeable 18650 Li-ion Battery Quantity: 2 Cells Individual Battery Voltage: 3.7V Nominal Individual Battery Capacity: 1500mAh Battery Holder: 2-Slot 18650 Holder Battery Charger: Single-Cell Lithium Battery Charger Motor Control: Direction Control and PWM Speed Adjustment Programming Interface: Arduino IDE Assembly: DIY Assembly Required Wireless Range: Not Specified Wiring Connections Arduino Code & Smartphone Control 1: /* 2: Code Name: Arduino Wifi Control Car 3: Code URI: https://circuitbest.com/category/arduino-projects/ 4: Additional Board Manager URL: http://arduino.esp8266.com/stable/package_esp8266com_index.json 5: Install: ESP8266 by ESP8266 Community 6: Author: Make DIY 7: Author URI: https://circuitbest.com/author/admin/ 8: Description: This program is used to control a robot using a app 9: that communicates with Arduino through a ESP8266 Module. 10: App URI: https://drive.google.com/file/d/1pvtWsTeXhcJdpHMfGlFmbGDuH7eoLfoP/view?usp=sharing 11: Version: 2.0 12: License: Remixing or Changing this Thing is allowed. Commercial use is not allowed. 13: */ 14 15 16: #define ENA 14 // Enable/speed motors Right GPIO14(D5) 17: #define ENB 12 // Enable/speed motors Left GPIO12(D6) 18: #define IN_1 15 // L298N in1 motors Rightx GPIO15(D8) 19: #define IN_2 13 // L298N in2 motors Right GPIO13(D7) 20: #define IN_3 2 // L298N in3 motors Left GPIO2(D4) 21: #define IN_4 0 // L298N in4 motors Left GPIO0(D3) 22 23: #include <ESP8266WiFi.h> 24: #include <WiFiClient.h> 25: #include <ESP8266WebServer.h> 26 27: String command ; //String to store app command state. 28: int speedCar = 800 ; // 400 - 1023. 29: int speed_Coeff = 3 ; 30 31: const char * ssid = "Make DIY" ; 32: ESP8266WebServer server ( 80 ) ; 33 34: void setup ( ) { 35 36: pinMode ( ENA , OUTPUT ) ; 37: pinMode ( ENB , OUTPUT ) ; 38: pinMode ( IN_1 , OUTPUT ) ; 39: pinMode ( IN_2 , OUTPUT ) ; 40: pinMode ( IN_3 , OUTPUT ) ; 41: pinMode ( IN_4 , OUTPUT ) ; 42 43: Serial . begin ( 115200 ) ; 44 45: // Connecting WiFi 46 47: WiFi . mode ( WIFI_AP ) ; 48: WiFi . softAP ( ssid ) ; 49 50: IPAddress myIP = WiFi . softAPIP ( ) ; 51: Serial . print ( "AP IP address: " ) ; 52: Serial . println ( myIP ) ; 53 54: // Starting WEB-server 55: server . on ( "/" , HTTP _ handleRoot ) ; 56: server . onNotFound ( HTTP _ handleRoot ) ; 57: server . begin ( ) ; 58: } 59 60: void goAhead ( ) { 61 62: digitalWrite ( IN_1 , LOW ) ; 63: digitalWrite ( IN_2 , HIGH ) ; 64: analogWrite ( ENA , speedCar ) ; 65 66: digitalWrite ( IN_3 , LOW ) ; 67: digitalWrite ( IN_4 , HIGH ) ; 68: analogWrite ( ENB , speedCar ) ; 69: } 70 71: void goBack ( ) { 72 73: digitalWrite ( IN_1 , HIGH ) ; 74: digitalWrite ( IN_2 , LOW ) ; 75: analogWrite ( ENA , speedCar ) ; 76 77: digitalWrite ( IN_3 , HIGH ) ; 78: digitalWrite ( IN_4 , LOW ) ; 79: analogWrite ( ENB , speedCar ) ; 80: } 81 82: void goRight ( ) { 83 84: digitalWrite ( IN_1 , HIGH ) ; 85: digitalWrite ( IN_2 , LOW ) ; 86: analogWrite ( ENA , speedCar ) ; 87 88: digitalWrite ( IN_3 , LOW ) ; 89: digitalWrite ( IN_4 , HIGH ) ; 90: analogWrite ( ENB , speedCar ) ; 91: } 92 93: void goLeft ( ) { 94 95: digitalWrite ( IN_1 , LOW ) ; 96: digitalWrite ( IN_2 , HIGH ) ; 97: analogWrite ( ENA , speedCar ) ; 98 99: digitalWrite ( IN_3 , HIGH ) ; 100: digitalWrite ( IN_4 , LOW ) ; 101: analogWrite ( ENB , speedCar ) ; 102: } 103 104: void goAheadRight ( ) { 105 106: digitalWrite ( IN_1 , LOW ) ; 107: digitalWrite ( IN_2 , HIGH ) ; 108: analogWrite ( ENA , speedCar / speed_Coeff ) ; 109 110: digitalWrite ( IN_3 , LOW ) ; 111: digitalWrite ( IN_4 , HIGH ) ; 112: analogWrite ( ENB , speedCar ) ; 113: } 114 115: void goAheadLeft ( ) { 116 117: digitalWrite ( IN_1 , LOW ) ; 118: digitalWrite ( IN_2 , HIGH ) ; 119: analogWrite ( ENA , speedCar ) ; 120 121: digitalWrite ( IN_3 , LOW ) ; 122: digitalWrite ( IN_4 , HIGH ) ; 123: analogWrite ( ENB , speedCar / speed_Coeff ) ; 124: } 125 126: void goBackRight ( ) { 127 128: digitalWrite ( IN_1 , HIGH ) ; 129: digitalWrite ( IN_2 , LOW ) ; 130: analogWrite ( ENA , speedCar / speed_Coeff ) ; 131 132: digitalWrite ( IN_3 , HIGH ) ; 133: digitalWrite ( IN_4 , LOW ) ; 134: analogWrite ( ENB , speedCar ) ; 135: } 136 137: void goBackLeft ( ) { 138 139: digitalWrite ( IN_1 , HIGH ) ; 140: digitalWrite ( IN_2 , LOW ) ; 141: analogWrite ( ENA , speedCar ) ; 142 143: digitalWrite ( IN_3 , HIGH ) ; 144: digitalWrite ( IN_4 , LOW ) ; 145: analogWrite ( ENB , speedCar / speed_Coeff ) ; 146: } 147 148: void stopRobot ( ) { 149 150: digitalWrite ( IN_1 , LOW ) ; 151: digitalWrite ( IN_2 , LOW ) ; 152: analogWrite ( ENA , speedCar ) ; 153 154: digitalWrite ( IN_3 , LOW ) ; 155: digitalWrite ( IN_4 , LOW ) ; 156: analogWrite ( ENB , speedCar ) ; 157: } 158 159: void loop ( ) { 160: server . handleClient ( ) ; 161 162: command = server . arg ( "State" ) ; 163: if ( command == "F" ) goAhead ( ) ; 164: else if ( command == "B" ) goBack ( ) ; 165: else if ( command == "L" ) goLeft ( ) ; 166: else if ( command == "R" ) goRight ( ) ; 167: else if ( command == "I" ) goAheadRight ( ) ; 168: else if ( command == "G" ) goAheadLeft ( ) ; 169: else if ( command == "J" ) goBackRight ( ) ; 170: else if ( command == "H" ) goBackLeft ( ) ; 171: else if ( command == "0" ) speedCar = 400 ; 172: else if ( command == "1" ) speedCar = 470 ; 173: else if ( command == "2" ) speedCar = 540 ; 174: else if ( command == "3" ) speedCar = 610 ; 175: else if ( command == "4" ) speedCar = 680 ; 176: else if ( command == "5" ) speedCar = 750 ; 177: else if ( command == "6" ) speedCar = 820 ; 178: else if ( command == "7" ) speedCar = 890 ; 179: else if ( command == "8" ) speedCar = 960 ; 180: else if ( command == "9" ) speedCar = 1023 ; 181: else if ( command == "S" ) stopRobot ( ) ; 182: } 183 184: void HTTP_handleRoot ( void ) { 185 186: if ( server . hasArg ( "State" ) ) { 187: Serial . println ( server . arg ( "State" ) ) ; 188: } 189: server . send ( 200 , "text/html" , "" ) ; 190: delay ( 1 ) ; 191: } How to Program and Control the ESP8266 WiFi Robot Car Step 1: Install and Configure Arduino IDE • Download the Arduino code provided for the ESP8266 WiFi Robot Car. • Open Arduino IDE and navigate to File > New to create a new sketch. • Delete the existing code and paste the downloaded Arduino code into the editor. • Open Arduino IDE Preferences: • Windows: File > Preferences • macOS: Arduino IDE > Settings/Preferences • Copy the following URL and paste it into the Additional Boards Manager URLs field: Additional Boards Manager URL: http://arduino.esp8266.com/stable/package_esp8266com_index.json • Click OK to save the settings. • Navigate to Tools > Board > Boards Manager. • Search for ESP8266 and install the ESP8266 by ESP8266 Community board package. • Go to Tools > Board > ESP8266 Boards and select NodeMCU 1.0 (ESP-12E Module) for a compatible NodeMCU development board. • Connect the NodeMCU to your computer using a USB data cable. • Select the correct COM Port (Windows) or serial port (macOS) from Tools > Port. • Click Verify to compile the code and check for errors. • Click Upload to transfer the program to the NodeMCU board. • Once the upload is complete, disconnect the USB cable and prepare the robot car for operation. Step 2: Connect and Control the Robot Car • Make sure all components are correctly connected according to the wiring diagram. • Connect the battery power supply to the robot car. • Download and install the smartphone control application compatible with the uploaded Arduino code. • Open your smartphone’s WiFi Settings. • Search for the WiFi network created by the ESP8266. In the original project firmware, the default SSID is Make DIY. • Connect your smartphone to the ESP8266 WiFi network. • Open the compatible control application. • Use the directional buttons to move the robot car Forward, Backward, Left, or Right, or to stop it. • Use the Speed Slider, if supported by the uploaded firmware and application, to adjust the motor speed. Note: The WiFi network name, control application, and available features depend on the uploaded Arduino firmware. The SSID can be customized by modifying the corresponding value in the code. Step 3: Troubleshooting Problem: Robot Car Moves in the Wrong Direction If the robot car moves backward when pressing the Forward button, or turns unexpectedly, follow these steps: • Position the robot car facing forward. • Lift the wheels off the ground and press the Forward button. • Check the rotation direction of both motors. • If a motor rotates in the wrong direction, disconnect the power supply. • Reverse the two motor wires connected to the corresponding motor output terminals on the L298N motor driver. • Reconnect the power supply and test the robot car again. Important Notes: • Ensure that the NodeMCU, L298N motor driver, and motors are properly connected before applying power. • Use a suitable power supply for the NodeMCU and motors. • Verify that the correct ESP8266 board and serial port are selected before uploading the code. • Make sure the smartphone control application is compatible with the uploaded firmware. • Always disconnect the power supply before changing motor connections. Applications • Educational Robotics Projects. • WiFi-Controlled Vehicle Projects. • IoT Learning and Prototyping. • Wireless Motor Control Experiments. • STEM Education Projects. • Embedded Systems Programming. • DIY Robotic Vehicle Development. Package Contents • 1× ESP8266 NodeMCU Development Board with CH340 • 1× L298N Motor Driver Module • 1× Robot Platform 2WD Square Shape • 2× DC Geared Motors with Wheels • 1× Metal Caster Wheel • 1× 18650 Battery Holder (2-Slot) • 2× Rechargeable 18650 Li-ion Batteries 3.7V 1500mAh • 1× Universal Lithium Battery Charger (1 Cell) • 10× Jumper Wires 20cm (Male to Female) • 10× Jumper Wires 20cm (Female to Female) • 2× 30 AWG Wrapping Wire Units Note: The following tools and materials are required for assembling the ESP8266 WiFi Controlled Robot Car and are not included in the package: • Soldering Iron • Solder Wire • Soldering Flux • Screwdriver • Double-Sided Tape App Link: Download
Read moreShow less
Specifications
- 1
- /*
- 2
- Code Name: Arduino Wifi Control Car
- 3
- Code URI: https://circuitbest.com/category/arduino-projects/
- 5
- Install: ESP8266 by ESP8266 Community
- 6
- Author: Make DIY
- 7
- Author URI: https://circuitbest.com/author/admin/
- 9
- that communicates with Arduino through a ESP8266 Module.
- 11
- Version: 2.0
- 13
- */
- 16
- #define ENA 14 // Enable/speed motors Right GPIO14(D5)
- 17
- #define ENB 12 // Enable/speed motors Left GPIO12(D6)
- 18
- #define IN_1 15 // L298N in1 motors Rightx GPIO15(D8)
- 19
- #define IN_2 13 // L298N in2 motors Right GPIO13(D7)
- 20
- #define IN_3 2 // L298N in3 motors Left GPIO2(D4)
- 21
- #define IN_4 0 // L298N in4 motors Left GPIO0(D3)
- Assembly
- DIY Assembly Required
- DC Motors
- 2 × DC Geared Motors
- Controller
- ESP8266 NodeMCU Development Board
- Wheel Width
- 26mm
- Battery Type
- Rechargeable 18650 Li-ion
- Motor Driver
- L298N Dual H-Bridge
- Product Type
- WiFi Controlled Robot Car DIY Kit
- Motor Control
- Direction Control and PWM Speed Adjustment
- Support Wheel
- Metal Caster Wheel
- Battery Holder
- 2-Slot 18650 Holder
- Control Method
- Smartphone via compatible WiFi control interface
- Robot Platform
- Square 2WD Chassis
- Wheel Diameter
- 65mm
- Wireless Range
- Not Specified
- Battery Charger
- Single-Cell Lithium Battery Charger
- Battery Quantity
- 2 Cells
- Motor Rated Speed
- 600 RPM (advertised motor model)
- Chassis Dimensions
- Approximately 200 × 150mm
- USB Interface Chip
- CH340
- Drive Configuration
- 2WD (Two-Wheel Drive)
- Motor Rated Voltage
- 3–12VDC
- Wireless Technology
- WiFi 2.4GHz, IEEE 802.11 b/g/n
- Programming Interface
- Arduino IDE
- Individual Battery Voltage
- 3.7V Nominal
- Individual Battery Capacity
- 1500mAh
Similar products
 Wireless Transceiver Serial UART (1000m Range)EGP 4701 shopchecked 3 days ago
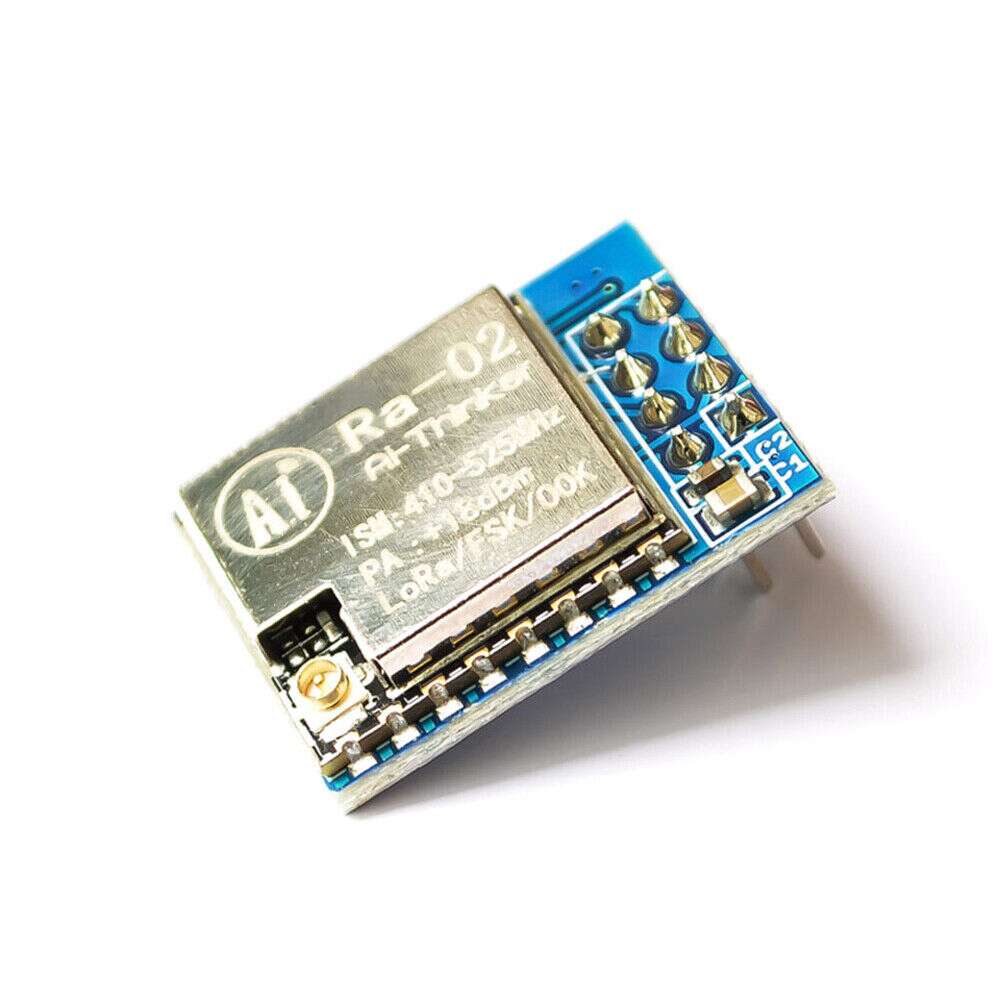 SX1278 LoRa-02 Module Wireless Spread Spectrum Transmission 433MHZ V4.0EGP 4751 shopchecked 20 days ago
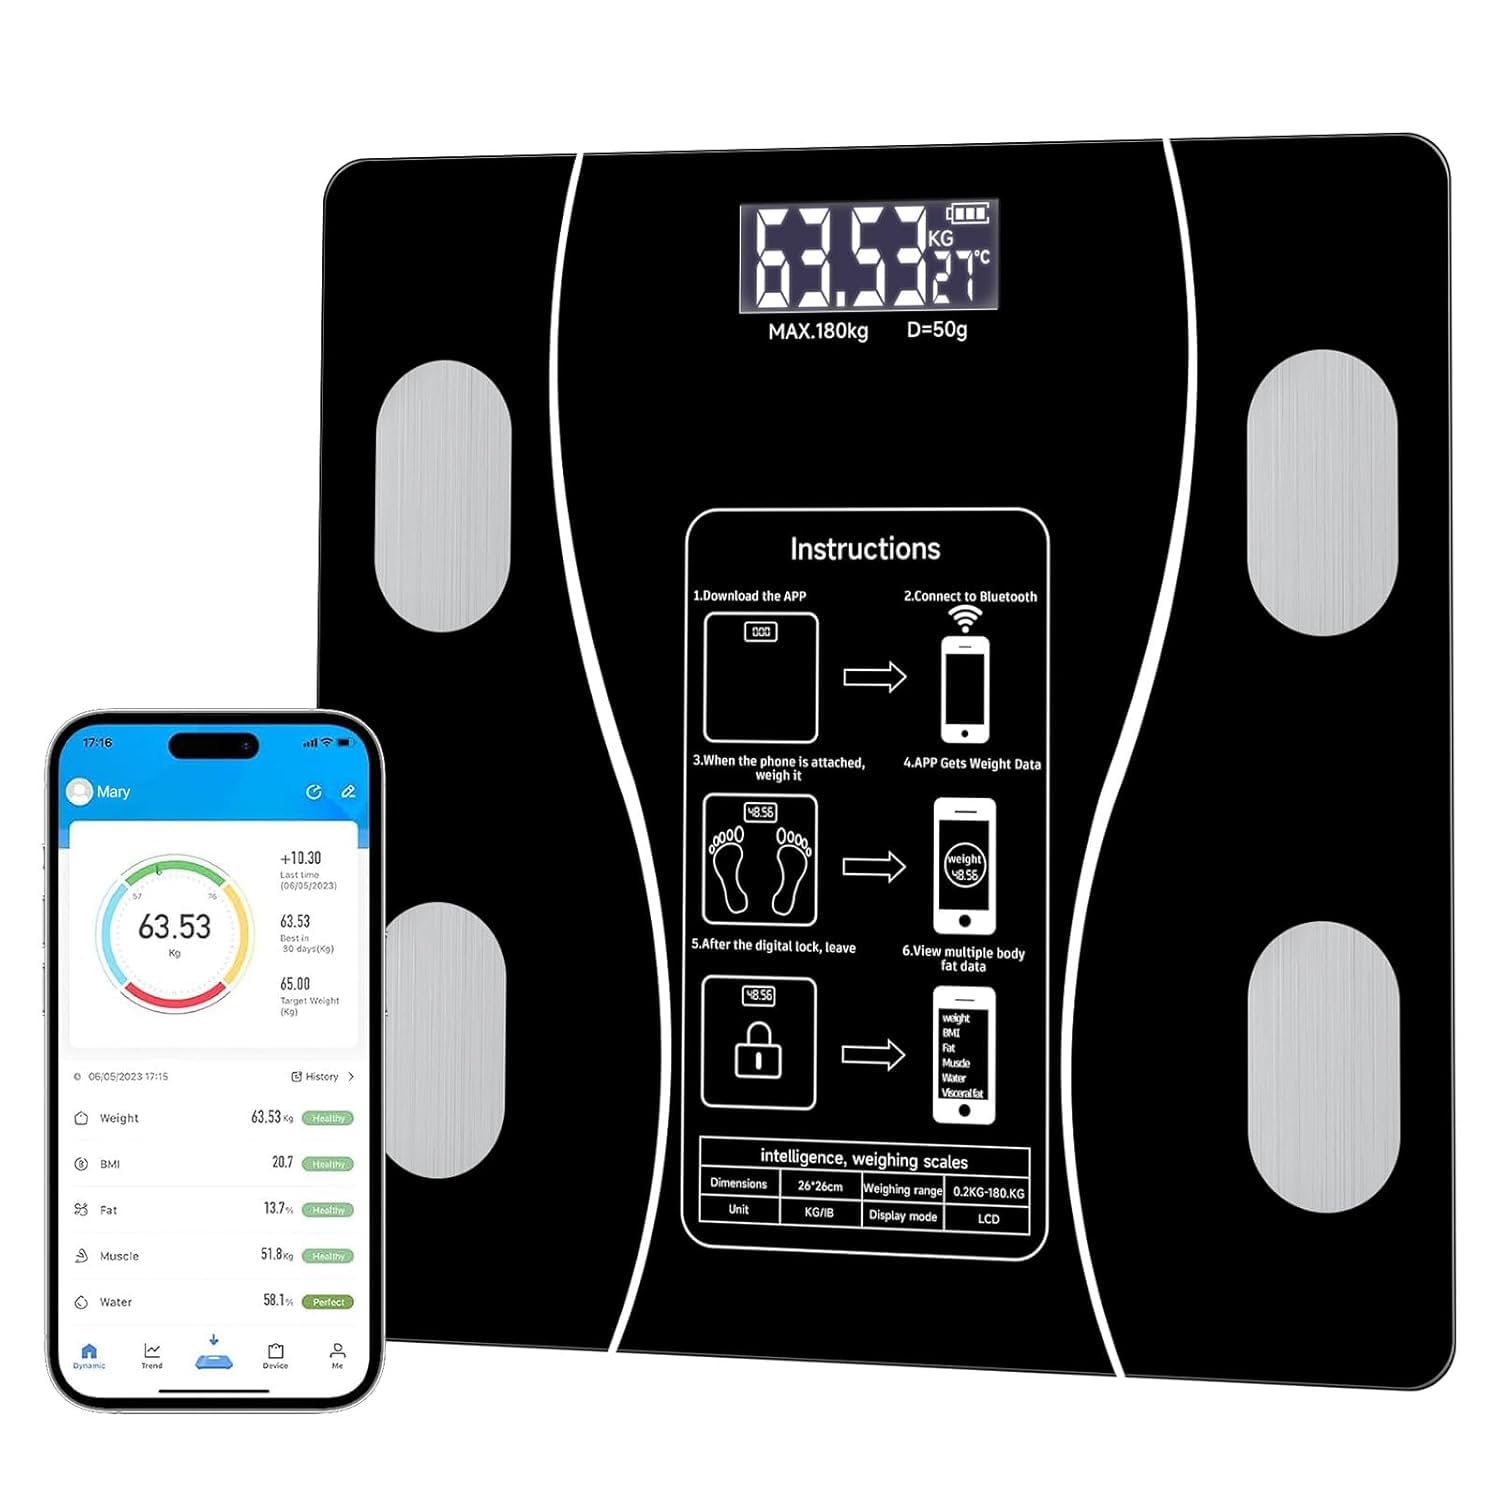 Digital Body Weight Scale with Bluetooth 180kgEGP 4751 shopchecked 23 days ago
 Ethernet Module (ENC28J60) For Arduino / MicrocontrollerEGP 4601 shopchecked 18 days ago
 Ublox NEO-6M GPS ModuleEGP 4601 shopchecked 4 days ago
 ESP32-S3 (DevKitC-1)EGP 4601 shopchecked 4 days ago
 Ublox NEO-6M GPS Module HW-623 With Micro USBEGP 4801 shopPrice may be out of date (79 days)
 ESP32 Development Board (WIFI and Bluetooth)EGP 4801 shopPrice may be out of date (79 days)