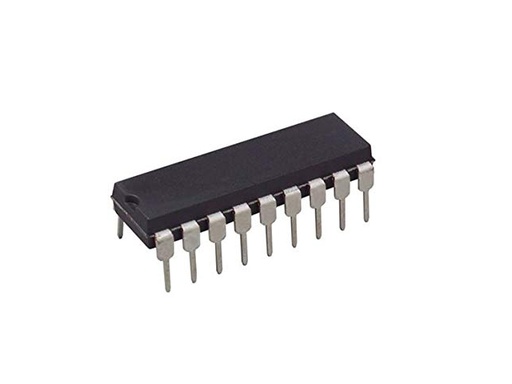
TDA7377 Audio Power OpAmps (Original)
Part number TDA7377
- Sold by 1 shop · checked 16 days ago
- 8 similar products, from EGP 120
What the shops say
From Makers Electronics's listing
Description
TDA7377 Description The TDA7377 is a new technology class AB car radio amplifier, and it is able to work either in DUAL bridge or quad single-ended configuration. The exclusive fully complementary structure of the output stage and the internally fixed gain guarantees the highest possible power performances with few external components. The onboard clip detector simplifies gain compression operation. The fault diagnostics make it possible to detect mistakes during car radio set assembly and wiring in the car. Specifications Product Attribute Attribute Value Manufacturer: STMicroelectronics Product Category: Audio Amplifiers Series: TDA7377 Product: Audio Amplifiers Class: Class-AB Output Power: 35 W Mounting Style: Through Hole Type: 2-Channel Stereo or 4-Channel Stereo Package/Case: Multiwatt-15 Audio – Load Impedance: 4 Ohms Supply Voltage – Max: 18 V Supply Voltage – Min: 8 V Minimum Operating Temperature: – 40 C Maximum Operating Temperature: + 150 C Packaging: Tube Number of Channels: 2 Channel Operating Supply Voltage: 8 V to 18 V Product Type: Audio Amplifiers TDA7377 Applications 1. Connect to speakers Connect the two wires of the speakers to the audio output port of the power amplifier, the left channel speaker is connected to the LOUT port of the amplifier and the right channel speaker is connected to the ROUT port, the positive connects to “+”, the negative connects to “-“. 2. Connect to sound source Use an audio cable with an end of 3.5mm stereo headphone plug and plug in the 3.5 stereo headphone jack of the amplifier. The other end of the audio cable is connected to the audio source (such as computers, mobile phones, MP3, DVD). 3. Connecting to the power supply 1) Connect to the adapter of the power supply Use the power supply in which the output is above DC12V3A. Connect the adapter’s output cable to the 12V port of the power amplifier board. The positive connects to the “+” of the port while the negative connects to “-“. 2) Connect voltage converter Use the voltage converter in which the output is above AC12V3A. Connect the two output cables of the converter to the 12V port of the power amplifier board. Because the converter’s output is alternating current, it is not positive or negative. 4. Play music Plugin the power, and the blue power indicator will light up which means that the power amplifier board starts working. You can adjust the volume knob according to their preferences. Pin No Pin Name Description 1 OUT 1 Output 1 2 OUT 2 Output 2 3 VCC Collector Supply Voltage 4 IN 1 Input 1 5 IN 2 Input 2 6 SVR Supply Voltage Rejection 7 ST-BY Stand By 8 PW-GND Power Ground 9 S-GND Signal Ground 10 DIAG: Diagnostics 11 IN 4 Input 4 12 IN 3 Input 3 13 VCC Collector Supply Voltage 14 OUT 4 Output 4 15 OUT 3 Output 3
Read moreShow less
Similar products
 SMD IC VN5E160S Air Conditioning Car Board for Automotive Applications (Golf 6 Common Failure IC)EGP 1201 shopchecked 15 days ago
 PIC16F54-I/P 8-Bit FLASH 20MHz 2V ~ 5.5V DIP-18EGP 1201 shopchecked 23 days ago
- PIC16F628A-I/PEGP 120 – 1602 shopschecked 14 days ago
 LNK3307D-TL 66kHz Offline Switcher IC Buck Boost Flyback SOIC-7EGP 1201 shopchecked 17 days ago
 D8257C-5 200ns 8-bit Programmable DMA Controller IC 5V 120mA DIP-40EGP 1201 shopchecked 18 days ago
 ICL 8038 Precision Waveform Generator/Voltage Controlled OscillatorEGP 1201 shopchecked 23 days ago
 MK6264UN-120 8K X 8 64k STANDARD SRAM 120ns IC DIP-28EGP 1201 shopchecked 18 days ago
 LM1203 RGB Video Amplifier System 12V 28mA DIP-28 (Wide)EGP 1201 shopchecked 28 days ago